

Joint Compound vs. Lightweight Spackle: What DIYers Need to Know
- rprcontractors
- Dec 14, 2025
- 5 min read

Joint Compound vs. Lightweight Spackle: What DIYers Need to Know
If you’ve ever stood in the drywall aisle staring at buckets labeled all-purpose, topping, setting compound, and lightweight spackle, you’re not alone. Choosing the right product can be the difference between a smooth, professional-looking wall and a lumpy, cracking mess.
As painting and drywall pros, we see the same issues over and over — especially on DIY projects where the wrong product was used for the job. This guide breaks down the main types of joint compounds and lightweight spackle, and when to use each, especially for:
New drywall finishing
Drywall repair and patching
First Things First: What’s the Difference?
Joint compound (“mud”)
Designed for taping seams, embedding drywall tape, and building up larger areas.
Dries a bit slower, sands nicely, and is made to be applied in multiple coats.
Comes in several varieties (all-purpose, taping, topping, setting/“hot mud,” etc.).
Lightweight spackle
Made for small repairs: nail holes, minor dents, and little dings.
Dries fast, easy to sand, and usually comes premixed in small tubs.
Not meant for taping seams or large patches.

The rule of thumb:
Use joint compound for seams and big repairs. Use lightweight spackle for tiny spots.
Types of Joint Compound (and When to Use Them)
1. All-Purpose Joint Compound
Best for:
New drywall (taping and first coats)
General repairs and patching
DIYers who want one product that “does it all”
Pros:
Versatile — you can embed tape, build up coats, and skim with it.
Good adhesion and strength.
Easy to find and budget-friendly.
Cons:
Can be a little heavier to sand than lightweight or topping compound.
Longer dry times, especially in humid basements or during winter.
DIY Tip:If you only want one bucket for a small project, all-purpose is usually the safest bet.
2. Lightweight All-Purpose Joint Compound
Best for:
Top coats and skim coats
Repairs where you want easier sanding
Ceilings and overhead work (lighter weight)
Pros:
Easier to sand than regular all-purpose.
Shrinks less as it dries.
Easier on your shoulders and arms when working overhead.
Cons:
Slightly less durable than regular all-purpose in high-impact areas.
Still not as fast as setting-type compounds.
DIY Tip:Use regular all-purpose for taping seams, then switch to lightweight all-purpose for your final coats to make sanding easier.
3. Topping Compound
Best for:
Final coats on taped joints
Skim coating for a very smooth finish
Pros:
Creamier and easier to sand.
Designed to give you a smoother finish with less effort.
Cons:
Not meant for embedding tape or major build-up.
Usually an extra product most DIYers don’t need unless you’re doing lots of new drywall.
DIY Tip:If you’re doing a full room of new drywall and want a really smooth finish, consider:Tape with all-purpose → build with all-purpose → finish with topping compound.
4. Setting-Type Compound (“Hot Mud”)
You’ll see these labeled with times: 5, 20, 45, 90 minutes, etc.

Best for:
Larger repairs and patches
Areas that need quick turnaround (e.g., multiple coats in one day)
Deep holes or damaged areas where regular mud would shrink or crack
Pros:
Sets chemically, not just by drying — so it’s harder and more durable.
Shrinks less and resists cracking.
Great when you need to get repairs done quickly.
Cons:
Short working time — once it starts to set, that’s it.
Harder to sand than premixed compounds.
Mixing required; can be intimidating for first-time DIYers.
DIY Tip:If you’re new to “hot mud,” start with 45 or 90-minute. It gives you more time to work before it sets up.
Lightweight Spackle: When It Is the Right Choice
Best for:
Nail holes from picture frames
Small dings from door handles or moving furniture
Tiny screw pops (after tightening the screw or replacing it)
Pros:
Super easy to use right from the tub.
Dries fast so you can sand and paint sooner.
Very easy to sand smooth.
Cons:
Not meant for seams or large patches.
Can be softer than joint compound and may dent if used in bigger areas.
Some lightweight spackles can flash (show through paint) if not primed.
DIY Tip:If you can cover the damaged area with a quarter or smaller, lightweight spackle is usually fine. Anything bigger — especially seams or cracks — go with joint compound.
New Drywall vs. Drywall Repair
New Drywall (Full Rooms, Basements, Additions)
For brand-new drywall, you’ll want to stick with joint compound, not spackle.
A typical pro-style sequence:
Tape Coat
Use all-purpose compound.
Embed paper or mesh tape over seams and corners.
Let it dry completely.
Second Coat (Build Coat)
Use all-purpose again.
Widen the seam and feather edges outward.
Cover all screw heads.
Let dry.
Third Coat (Finish Coat)
Use lightweight all-purpose or topping compound.
Feather even wider for a smooth transition.
Lightly sand when dry.
Final Sanding & Priming
Sand gently with a sanding sponge or pole sander.
Prime with a good drywall primer before painting.
Drywall Repair (Holes, Cracks, Patches)
For repairs, think in terms of size and depth:
Tiny Nail Holes & Dings
Use lightweight spackle.
Apply with a small putty knife, let dry, sand, and spot prime if needed.
Small Holes (up to 2–3")
Use all-purpose or setting compound.
For deeper damage, fill in layers so it doesn’t sag.
For a cleaner repair, use a patch kit plus joint compound.
Medium to Large Holes (4" and up)
Cut out the damaged area and install a new piece of drywall.
Tape the seams and finish like new drywall using joint compound (not spackle).
Cracks in Corners or Seams
Cut out the loose material.
Retape with paper or mesh tape.
Use all-purpose for the first coat and lightweight/topping for final coats.
Common DIY Mistakes (and How to Avoid Them)
Using lightweight spackle on seams or large patches
It may crack, dent, or telegraph through the paint.✅ Use joint compound for seams and any bigger repairs.
Applying coats too thick
Thick layers shrink, crack, and take forever to dry.✅ Apply thinner coats and build up as needed.
Not letting mud dry fully before sanding or recoating
Leads to gouges, ridges, and rough spots.✅ Be patient — especially in cool or humid rooms.
Over-sanding
Sanding too aggressively can fuzz the paper and create low spots.✅ Use a light touch and a sanding sponge. Shine a light across the surface to see imperfections.
Skipping primer
Unprimed mud can flash and look blotchy under paint.✅ Always prime repaired or new drywall before painting.
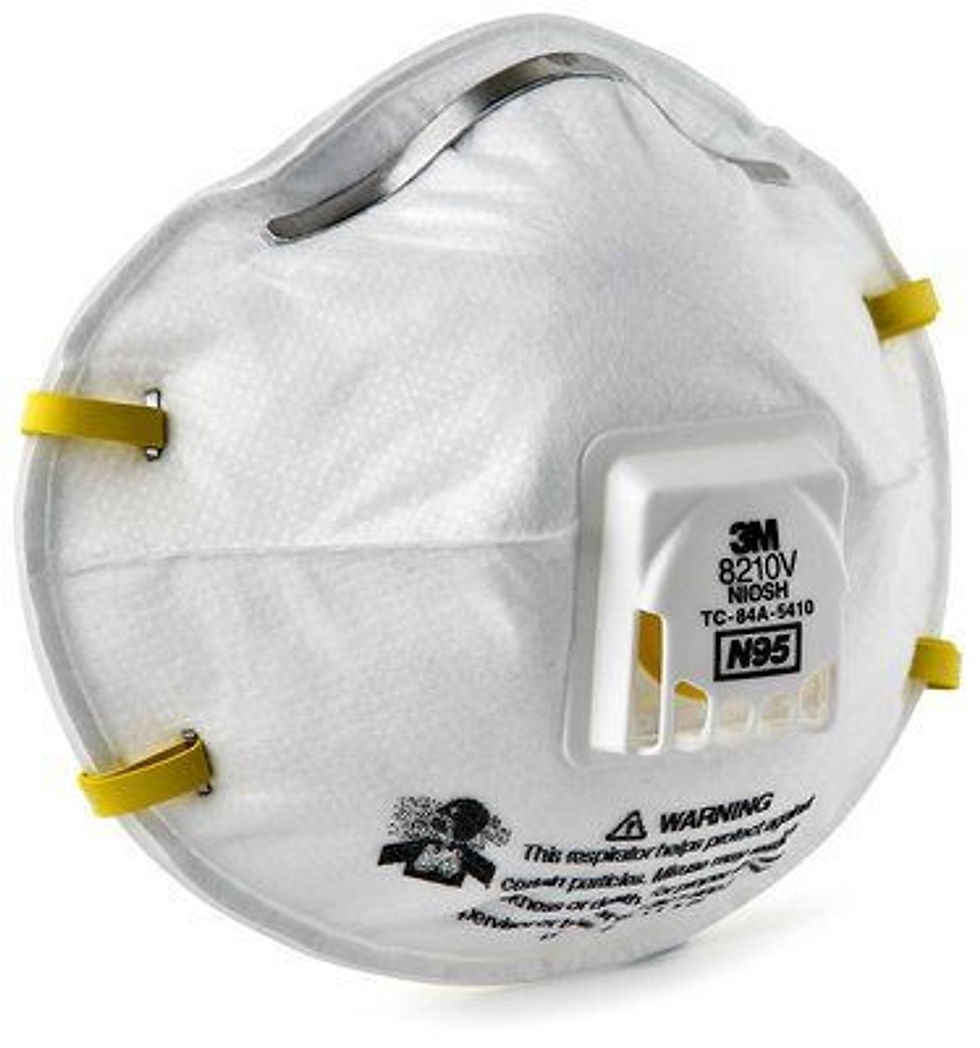
Breathing in dust
Joint compound dust is messy and can irritate your lungs.✅ Wear a dust mask or respirator and use a shop vac or vacuum sander when possible.
Quick Product Cheat Sheet for DIYers
New drywall from scratch:
🟢 All-purpose (tape & build)
🟢 Lightweight or topping (final coat)
Medium–large repair or patch:
🟢 All-purpose or setting-type compound
⚪ Optional: lightweight for final coat
Tiny nail holes & dings:
🟢 Lightweight spackle
Places you should NOT use spackle:
❌ Taping seams
❌ Drywall corners
❌ Large, deep holes
❌ Anywhere you’d expect movement or stress
Not Ready to Tackle It Yourself?
Drywall finishing is one of those tasks that looks simple, but it takes practice to get those seams invisible and those walls perfectly smooth. If you’d rather skip the learning curve (and the dust), that’s what we’re here for.
RPR Contractors – Ready to Refresh Your Home?Serving Phoenixville, Royersford, Pottstown, Chester Springs, and the surrounding areas.

📞 484-949-5258
We’re happy to handle the messy part so you can enjoy the finished walls and fresh paint.


Comments